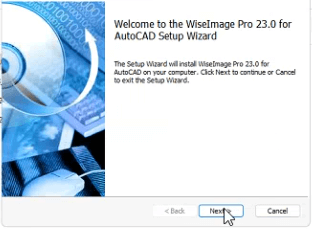
Download WiseImage 23 for AutoCAD (From FTP, Website or Email) and double click the .exe file.
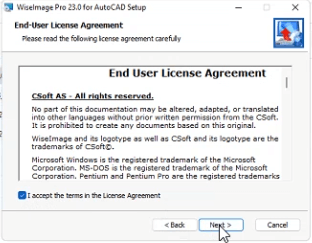
Read the end-user license agreement and after accepting click next.
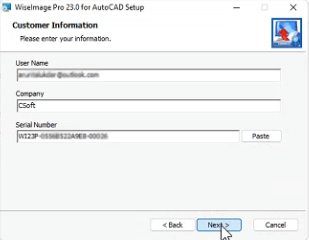
Enter your name into the User Name box accepting click next.
Enter the Serial Number or copy and paste it which is provided to you
Choose the AutoCAD installed in your system, that you want to associate WiseImage with.
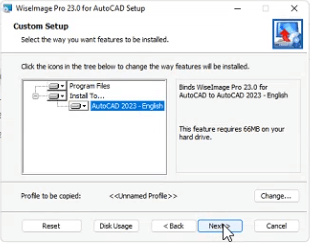
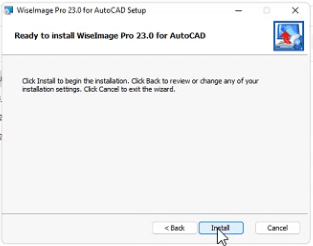
Press Install.
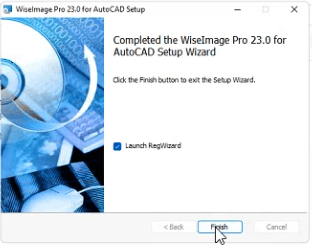
Press Finish and Registration wizard will come up.
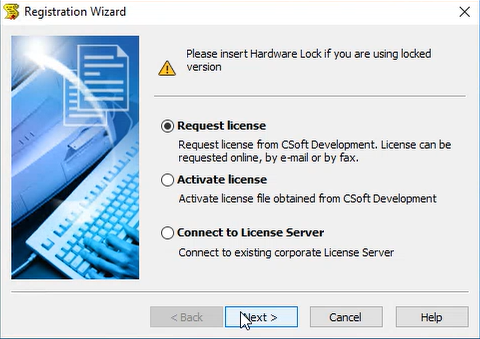
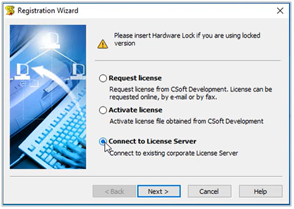
The Registration Wizard will guide you. To request a license online, select Request license and click the Next button to continue.
Fill up the dialog window with proper information. Click the Next button to continue.

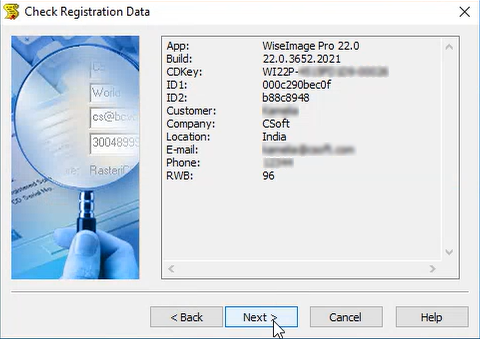
Check the registration data and click Back to rectify any mistake, click Next to continue, if everything is ok.
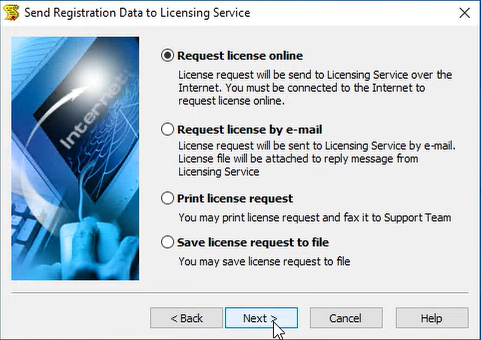
Choose “Request license online” option. Then click next to continue.
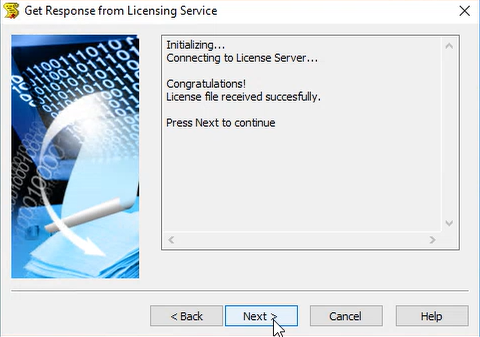
The Response Licensing Service dialogue window displays information about your license location. Click the Next button to continue.
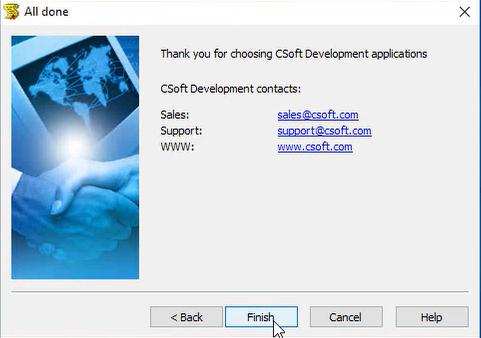
You have been granted a license, the validity of which will be as per your request/purchase for WiseImage 22 for AutoCAD. Click the Finish button to finish registration process.
To request a network license, select Connect to License server and click the Next button to continue.
Specify License Server name or IP address. click the Next button to continue.

RegWizard dialog box will be open. Click next to continue.
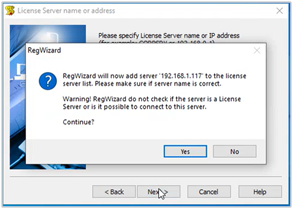
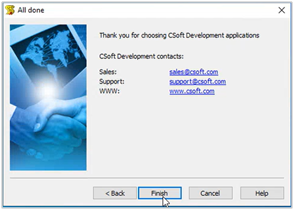
Click finish button and your network license will be activated.
1207 Godrej Waterside, Tower II
12th Floor, Block DP, Sector V
Salt Lake, Electronic Complex,
Kolkata, West Bengal 700091, India


Phone: +033 6623 6649
Mobile: +91 9748468686
Email: sales@csoftindia.net
© Copyright CSoft. 2025 All Rights Reserved


